Printing
EVA 2 is designed to for 0.8 - 0.9 wall width (there are places where that should not be exceeded). Infill should not be less than 20% rectilinear. Most of the parts can be printed with 0.3 layer height but 0.2 is the safe bet.
Printing orientation
The parts are not oriented in the print orientation. I am currently unavailable to maintain that but the rule is: find a big flat face and set it on the bed.
Supports
Unless specified the parts require no supports. If your print orientation required supports then you oriented the part wrong :)
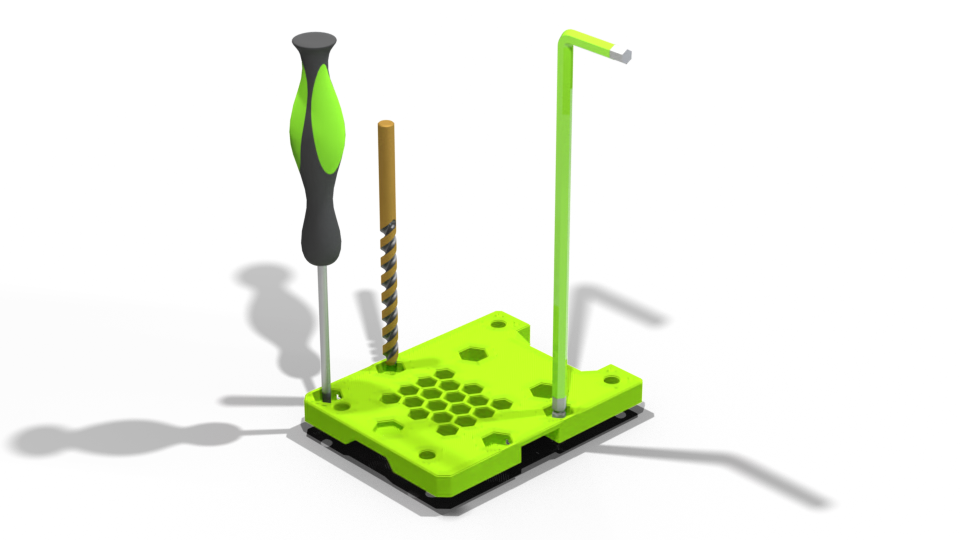
Handling hex nuts
To properly insert a hex nut into a printed part you need to take a short screw, thread it through the hole, put the nut in, drive the nut untill it's properly sitting in it's place and finally remove the short screw. This is very important and will allow for the nut not to bind in the screw threads when you are mid-way through your assembly - when a nut binds the two parts are usually garbage and need to be reprinted.
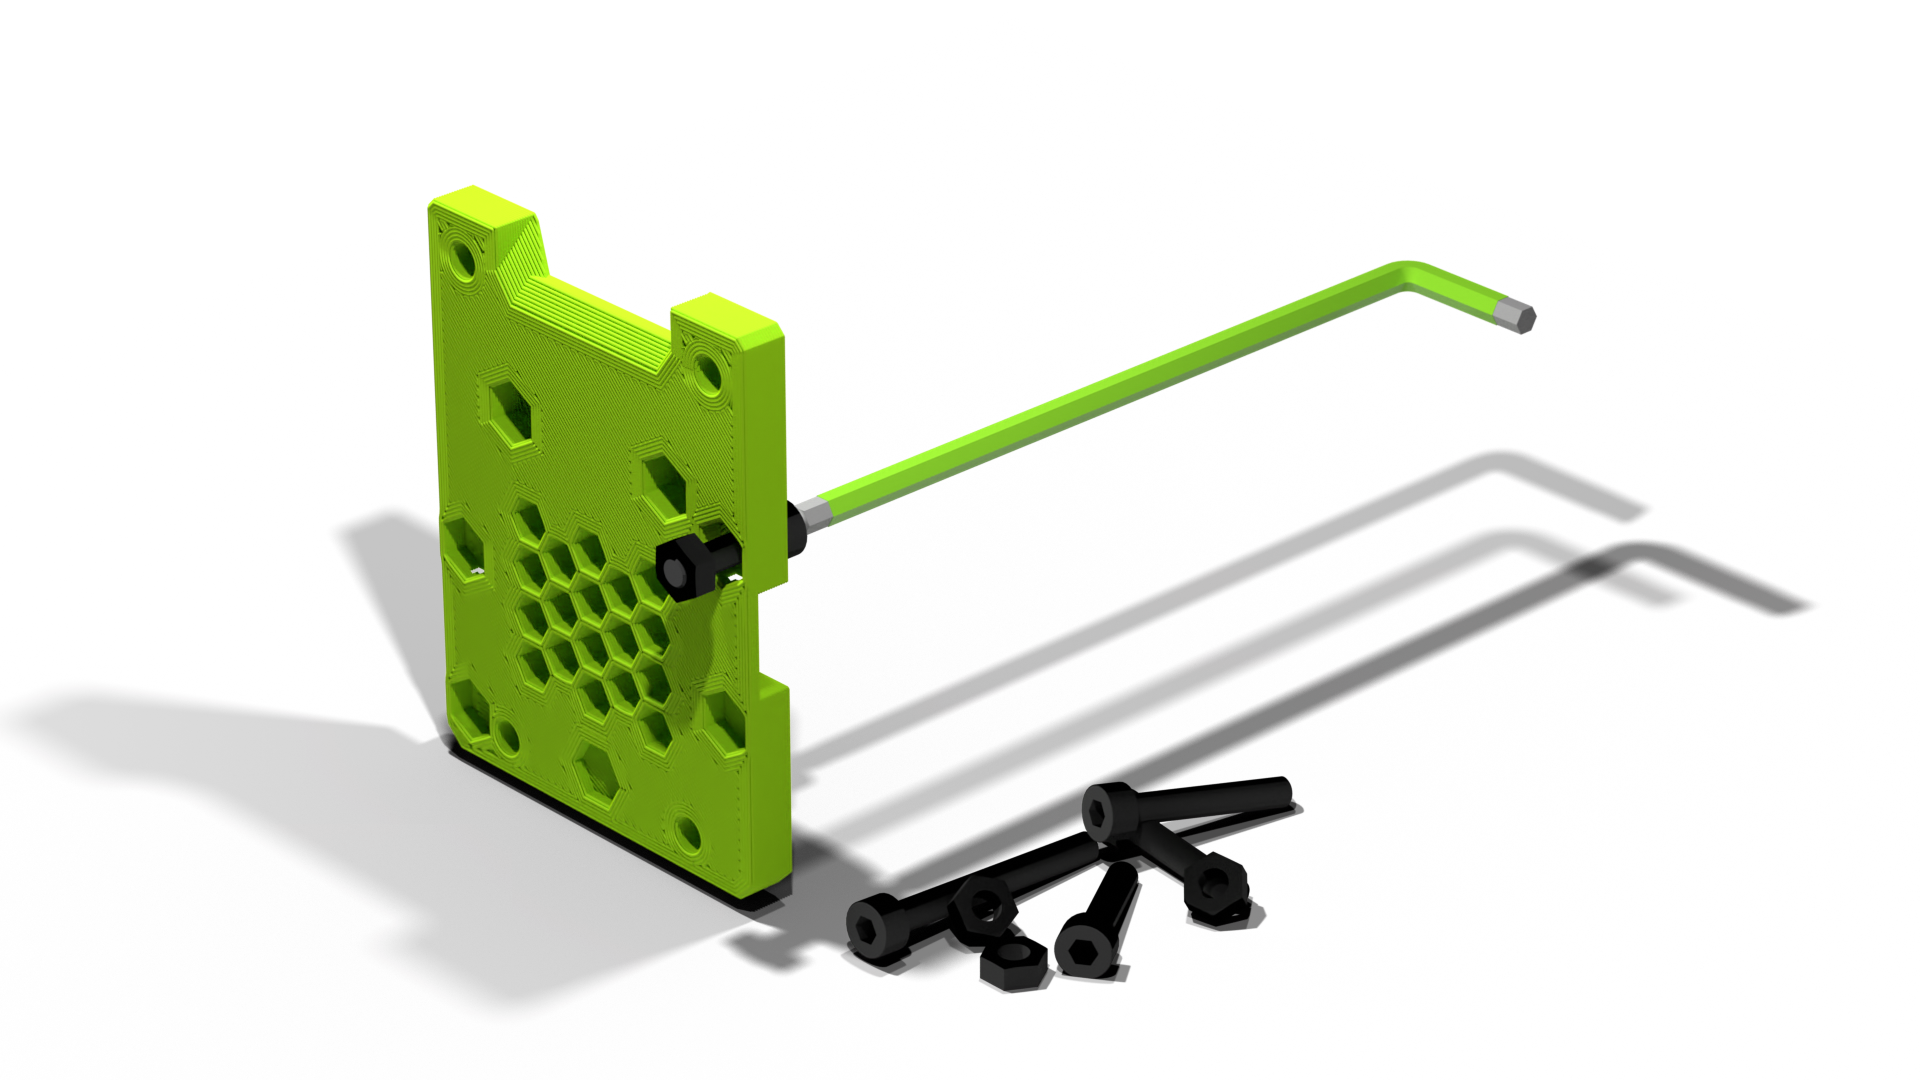
Pokey Pokey hole technique
When looking at the files or when slicing you will find that the holes are not there that is by design and while I know there are many techiques for achieving proper mid-air holes I am not able to consume the amount of work required to implement that for every single hole or sometimes there's not enough room for that.
There are 0.2 - 0.3 layers covering the holes to "trick" the slicer into thinking there is a bridge to be made. After printing you need to either drill, poke with a screw driver, allen key or even force the screw throuh that layer - all of the above works (drill being the fastest obviously).
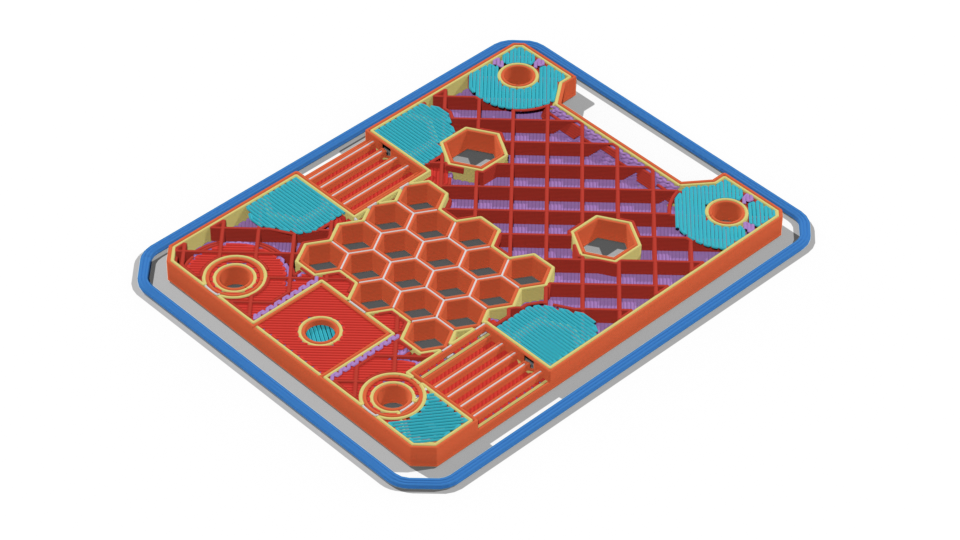
You can see the blue spots (bridges) around the belt teeth are covering the holes fully.